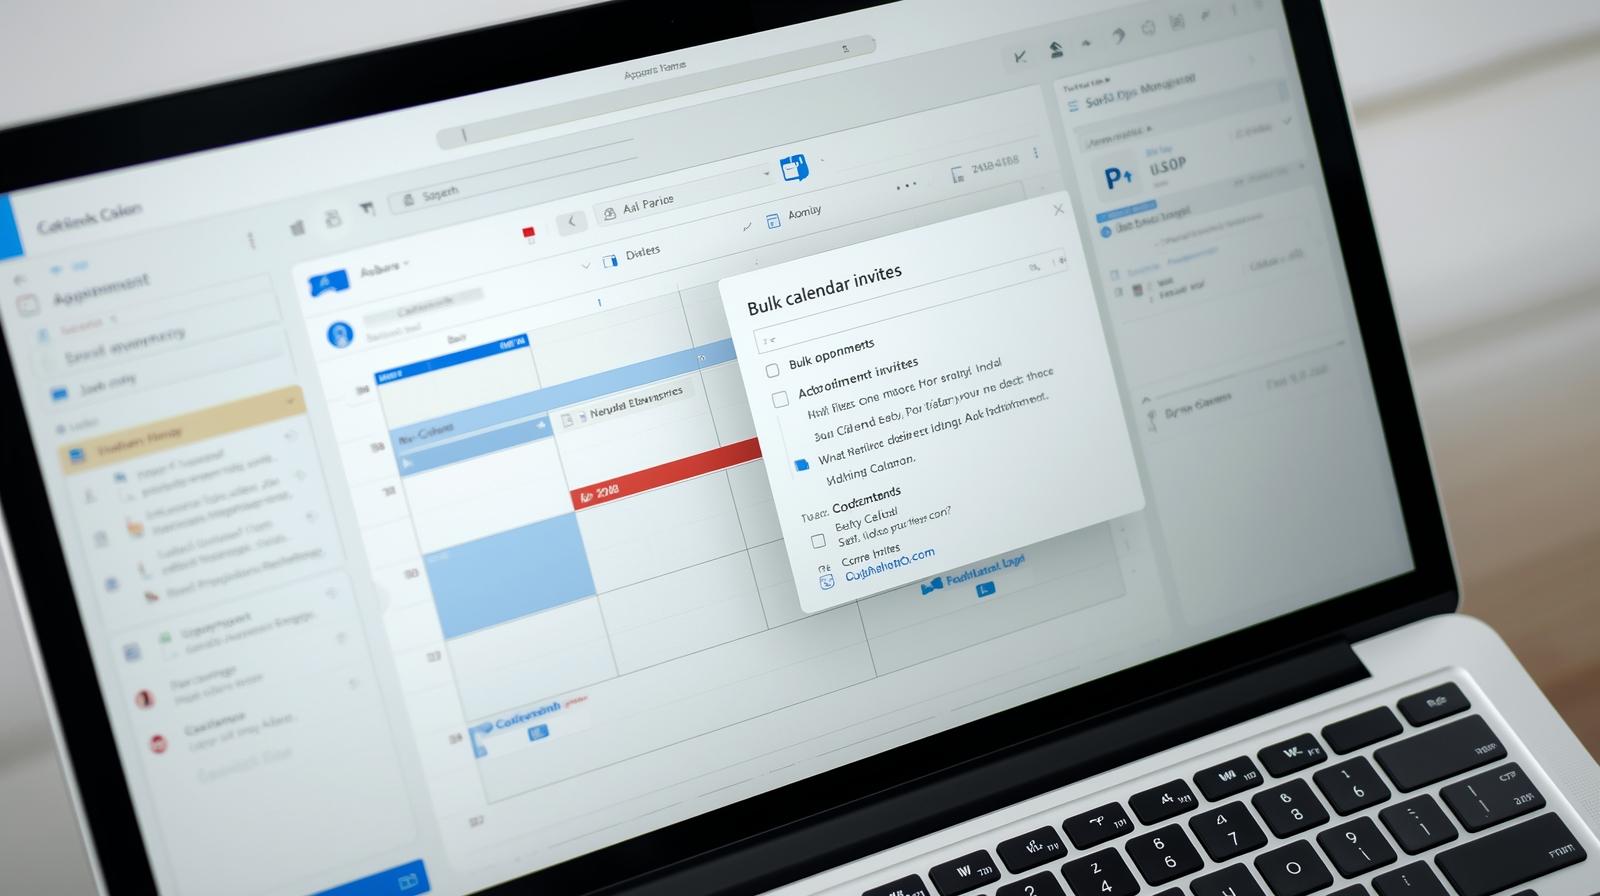
How to send bulk calendar invites in Outlook?
Managing multiple meetings, webinars, and conferences can be overwhelming, especially when using Outlook. Sending invites individually takes time and increases the risk of errors. Fortunately, tools like Let’s Calendar allow you to send bulk calendar invites in outlook efficiently, personalize each invite, and track responses all while maintaining a professional workflow.
In this blog, we’ll cover how you can streamline your scheduling process, the benefits of sending bulk invites, and how to make the most of Outlook with Let’s Calendar.
Why Sending Bulk Calendar Invites Matters
For event organizers, marketing teams, and webinar managers, time is a critical resource. Sending multiple calendar invites individually can be tedious, prone to mistakes, and hard to track. Using bulk invites ensures that:
- Events are scheduled consistently and accurately.
- Attendees receive personalized invites with all necessary details.
- Organizers can save hours of administrative work.
- Responses are automatically tracked for better planning.
By integrating Let’s Calendar with Outlook, you can send bulk invites discreetly, even to hundreds of recipients, while customizing each invite with attendee-specific information.
Understanding Outlook’s Calendar System
Outlook offers a robust calendar system, but it has limitations when sending invites at scale:
- Outlook Desktop, Office 365 (O365), and Outlook Web App handle events slightly differently.
- Bulk invites via native Outlook may appear as generic emails unless you add personalization manually.
- For new attendees, calendar invites may require confirmation to block the recipient’s calendar.
This is where a tool like Let’s Calendar simplifies the process, ensuring each mass calendar invite is delivered accurately and with personalization.
Preparing Your Event and Attendee List
Before sending invites, proper preparation is key:
- Compile Attendee Information: Include email addresses, first and last names. This allows for personalization in each invite.
- Format the List: Use CSV or Excel formats compatible with Outlook.
- Plan Invite Details: Include the event title, time, location, description, and any special instructions.
Pro Tip: Adding dynamic fields like {FirstName} and {LastName} ensures each invite feels personal while still being sent in bulk. This works perfectly when sending multiple calendar invites in Outlook.
Step-by-Step Guide to Sending Bulk Calendar Invites in Outlook
Follow these steps to efficiently send bulk invites using Let’s Calendar:
- Open Outlook and Navigate to Calendar: Start by creating a new event in your Outlook calendar.
- Add Event Details: Include title, time, date, location, and description.
- Upload Attendee List: Import your prepared list with names and emails.
- Personalize Invites: Use dynamic placeholders to automatically insert each recipient’s name or other details.
- Send Bulk Invites: Use Let’s Calendar to dispatch your invites discreetly. You can send mass meeting invites, bulk calendar invite in Outlook, or bulk meeting invites in O365 without manual intervention.
For a more detailed guide on scheduling repeating or recurring events in Outlook, check out this step-by-step tutorial.
Benefits of Using Let’s Calendar for Bulk Invites
Let’s Calendar offers several advantages over native Outlook functions:
- 1:1 or Bulk Sending: Choose to send personalized invites individually or in bulk.
- Track Responses: Receive RSVP notifications automatically for better planning.
- Personalization: Include sensitive or event-specific details for each attendee.
- Cross-Platform Compatibility: Works seamlessly with Outlook, Google Calendar, and other major platforms.
With Let’s Calendar, sending a mass calendar invite in Outlook becomes simple, efficient, and professional.
Best Practices for Bulk Calendar Invites
To maximize efficiency and avoid common pitfalls:
- Double-check email addresses to prevent delivery errors.
- Test a small batch before sending to your full list.
- Avoid sending invites late at night or during off-hours.
- Ensure dynamic fields like {FirstName} and {LastName} are mapped correctly.
- Maintain privacy and compliance when handling personal attendee information.
These steps ensure that all invite calendars are updated correctly and reduce the chances of conflicts.
Troubleshooting Common Issues
Even with bulk invites, occasional issues may arise:
- Invites marked as “unverified”: Ensure your SMTP settings are correctly configured.
- Time zone mismatches: Double-check the event’s time zone and adjust as needed.
- Missing responses: Use Let’s Calendar to track attendees automatically.
These solutions help maintain a professional workflow while ensuring every invite reaches the attendee’s calendar successfully.
Conclusion
Managing multiple meetings, webinars, and conferences in Outlook can be challenging, especially when sending invites manually. With Let’s Calendar, you can easily send bulk calendar invites in outlook, personalize each one, and track responses all from a single platform.
By integrating Let’s Calendar with Outlook, you not only save time but also ensure accuracy, professionalism, and a seamless experience for your attendees. Whether it’s a small webinar or a large-scale conference,it makes scheduling effortless and keeps your events running smoothly.
Leverage Let’s Calendar today to simplify your event management, stay organized, and make every invite count.


Recent Comments